
Unity provides game developers with a robust platform to create immersive experiences. Once you’ve completed your Unity project, it’s time to export it as an executable (.exe) file, allowing others to play your game on Windows. In this article, we will walk you through the step-by-step process of exporting a Unity project as an executable game on Windows, covering important considerations along the way.
1. Build Settings
So, you have finally completed that game project and now you want to show it off to the world, here’s how you can build your game into an executable file so you can proudly show off your hard work.
To build your project:
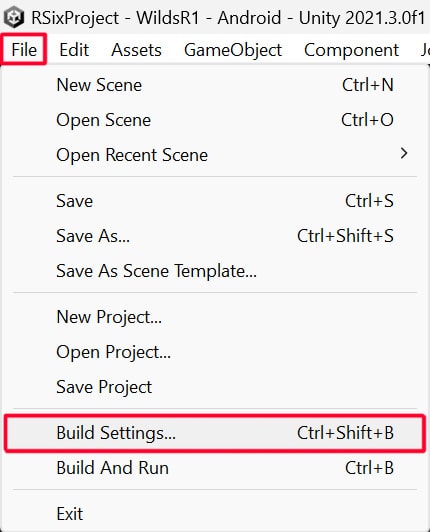
- Navigate to File in the Unity editor menu and select Build Settings.
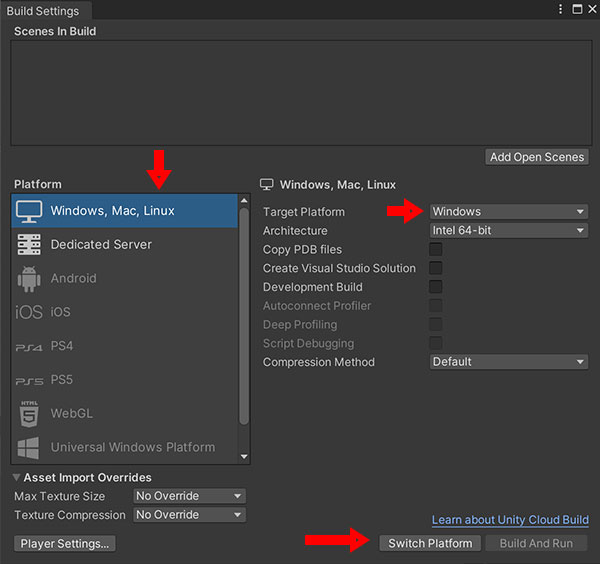
- Once there, the first thing you want to do is ensure that you are currently on the Windows, Mac, Linux platform. If not, select it, and click on the Switch Platform button, so that your project is configured to export EXE files. Also make sure that the Target Platform is Windows.
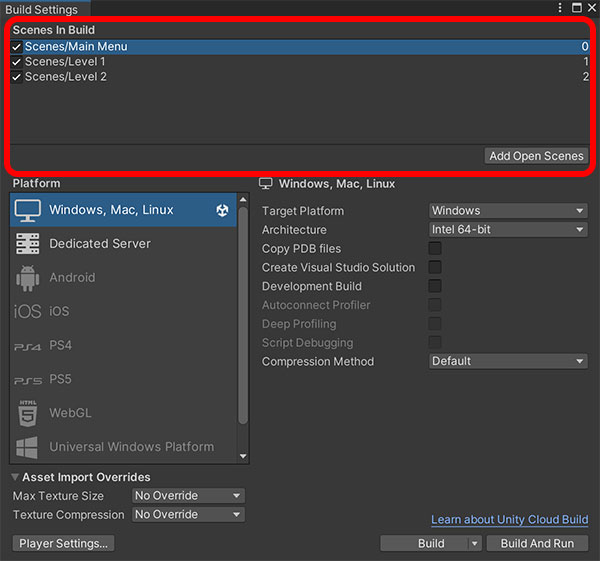
- In the Build Settings window, drag all the Scenes you want to include in your build into the Scenes in Build box. You can also use the Add Open Scenes button to include all the Scenes you currently have open into the Scenes in Build. Also, ensure that your main menu scene, or the scene that you want the game to play first, is the first on the list.
2. Configuring Player Settings
Before you build your game, however, you will probably want to configure your build’s Player Settings first, as it contains many options to control various aspects of your build, such as display resolution, audio settings, custom cursors and game icons.
You should be able to find a button that takes you to Player Settings window on the bottom left corner of the Build Settings window.
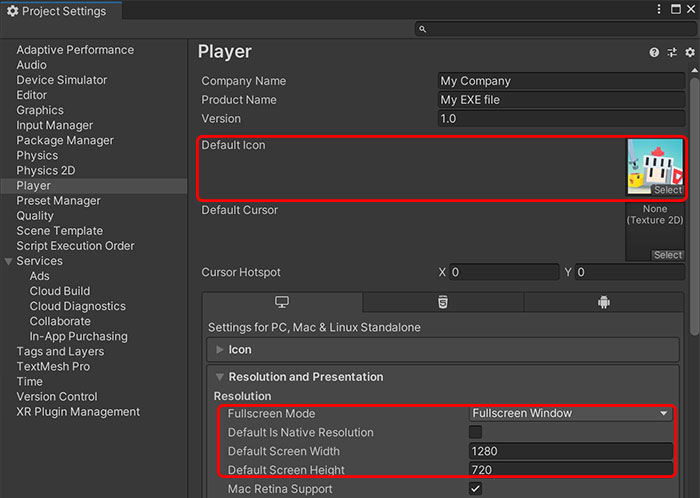
While there are many settings you can configure in Player Settings, the 2 most important settings are as follows:
- Setting the Default Icon: As this will determine the icon that your EXE file has after the build has been exported. The option to do this is found right on top of the Player Settings window.
- Setting your game resolution: You will also want to set your game’s resolution, i.e. whether the game is full screen or windowed, and what resolution the game will run on. This is important because it will affect the game UI, as well as how your game is presented.
To find a description for the full list of Player Settings options, you can check out Unity’s Offical Documentation for it.
3. Selecting your Build location
Once you are done configuring the Player Settings, head back to the Build Settings window and click Build. When you do that, Unity will ask for a folder to build the game into.
The default folder that Unity will suggest to build the game onto is your current project folder. However, it is recommended that you create a new, empty folder somewhere you can easily find, such as on the Desktop. This is because the EXE file will be accompanied by a number of supporting files and folders, and you will need all the files to be able to run the EXE.
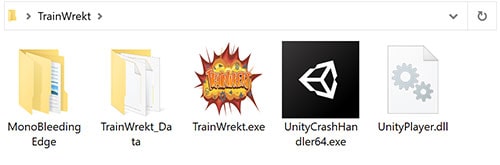
When you want to share your EXE with others to let them play it, you will need to transfer them all the files. Hence, if you build your game into a new, empty folder, you can simply ZIP the folder up and send it to someone else.
Whereas if you build your game into your project folder, it can be difficult to identify the files that have been created with the EXE, so you might miss out or lose some off the files that the EXE needs to run.
4. Conclusion
Did we miss out any step in our guide on how to export your Unity game as a Wnidows executable? Let us know in the comments below.