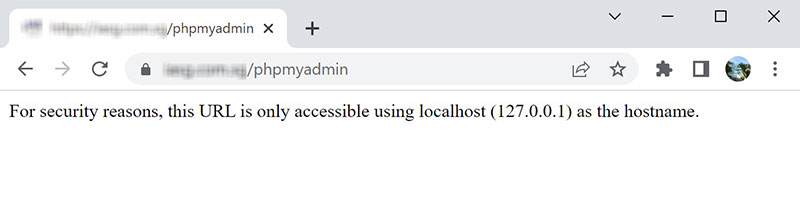
If you’re running a Bitnami LAMP stack for your web server, you will be glad to find that it comes with phpMyAdmin — an indispensible tool for managing your server’s SQL server. If you try to access said SQL server (the default URL is at yourdomain.com/phpmyadmin), however, you will find an error message that goes like this:
1. What is the error saying?
Essentially, the error is telling you that you can only access phpMyAdmin with the following URLs on your browser:
localhost/phpmyadmin127.0.0.1/phpmyadmin
Both localhost and 127.0.0.1 are loopback addresses, which means to say that it tells a computer to refer back to (i.e. query) itself. Hence, because the program says that you can only access phpMyAdmin from these 2 addresses, what it is essentially saying is that only the web server itself can access the phpMyAdmin URL.
This may sound a little ridiculous to you, because if you’re running your web server on a LAMP stack… well, those things don’t come with a browser, do they? What with them running on a command line interface and all.
2. The solution: SSH tunnelling
To go around the localhost restriction, you can employ a little bit of port forwarding magick called SSH tunnelling to forward your requests for execution on your web server. This will allow you to access your web server from a device other than your web server itself.
a. SSH tunnelling from Command Prompt / Windows Powershell / Terminal
If you don’t use any third-party applications to establish your SSH connections, you can also establish a tunnel using the ssh command in Windows’ Command Prompt and Powershell, or macOS’s Terminal.
The command to do so is as follows:
ssh -L 8888:localhost:80 user@yourdomain.com
Take note of the highlighted portions above, as you will need to replace them with values of your choice:
| Highlight | Description |
|---|---|
| 8888 | This is the port where you will be accessing your web server from. You can leave it as 8888 if it isn’t already used. If so, then you will use localhost:8888/phpmyadmin to access the database later on. |
| 80 | This is the port where your web server will be accessing phpMyAdmin from. In most circumstances, this will either be 80 or 443. If 80 (HTTP) does not work for you, then try using 443 (HTTPS). |
| user | This is just your SSH login. ‘Nuff said. |
| yourdomain.com | This is your web server’s domain name. If you don’t have one, you can replace this with your server’s public IP address. |
If this is your first time accessing your web server, you may get this warning after typing in the command:
The authenticity of host '[terresquall.com]:87 ([188.166.199.204]:87)' can't be established.
ECDSA key fingerprint is SHA256:rWPHusPLtdOiQUNEhIJ/iv6IKeI0Ptxqx4KH4dS1Sh0.
Are you sure you want to continue connecting (yes/no/[fingerprint])? yes
Type yes (as highlighted above) to continue.
Do note that on subsequent SSH attempts to your web server, you should not get this message again. If you do, and the fingerprint is different from before, there is a chance that you might be a victim of a man-in-the-middle attack (i.e. your traffic is being intercepted), and you should stop the SSH tunnel.
Once the tunnel goes through, you should be able to access phpMyAdmin using localhost:8888/phpmyadmin or 127.0.0.1/phpmyadmin on your browser. If you run into any issues here, head on over to Troubleshooting below.
b. SSH tunnelling using PuTTY
If you use PuTTY for your SSH needs, here’s how you set up an SSH tunnel alongside your PuTTY connection:
- Open PuTTY and key in the domain or IP address of your web server.
- Head to Connection > SSH > Tunnels.
- Key in
8888for the Source Port, andlocalhost:80orlocalhost:443(refer above for more details) for the Destination, then click on the Add button. - Save your connection if you want to (so that you don’t have to set everything up again in future), and click on Open to start the SSH tunnel.
Below is a video illustrating the steps listed above:
Again, once the tunnel goes through, you should be able to access phpMyAdmin using localhost:8888/phpmyadmin or 127.0.0.1/phpmyadmin on your browser. If you run into any issues here, have a look at Troubleshooting right below.
3. Troubleshooting
When setting up or accessing your SSH tunnel, you may run into a couple of these issues.
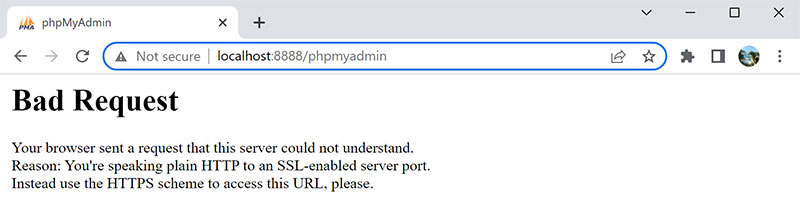
a. HTTP Bad Request
If your browser displays the following message, then you just need to add https:// in front of your address and try again.
Then, you may also get the following.
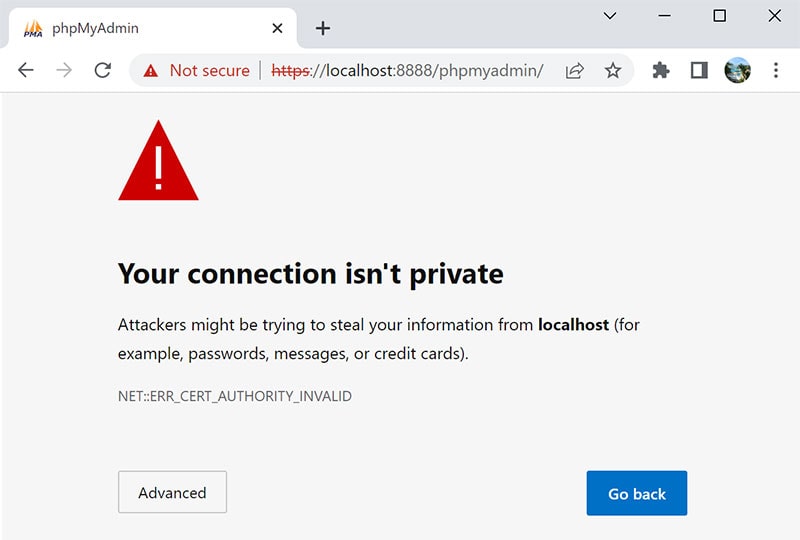
b. Your connection isn’t private
If your web server isn’t configured to support HTTPS connections for localhost, you will get an error saying that your connection isn’t private. Worry not, as you can skip past this by clicking on Advanced > Continue to localhost (unsafe).
4. Conclusion
Did you run into any other issues when tunnelling to your web server? Let us know in the comments below!