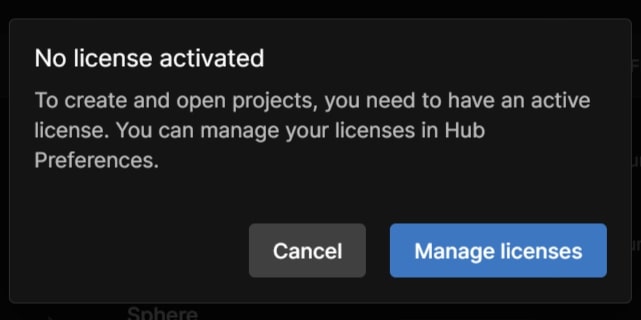
If you are just starting out, or have been using Unity for a while, you will have come across this reminder that will stop you from accessing your Unity Editor or creating new projects through the Unity Hub.
To set up a Unity license may seem confusing and laborious, but through this guide we’ll walk you through the process of setting up your Unity license, ensuring a seamless workflow from the outset.
Check out our short video guide if you want a quick way to fix the issue.
In this article, we will be going through different method’s of acquiring a license:
1. How to Manage Licenses
Getting started, you will need to check your account’s licenses. You should check your licenses to see if you do already have one, or if one is expiring. You can either access that information through the Unity Hub or through Unity’s main website.
We will be using Unity’s website to find out information such as your Serial key number or Organizations. Whereas Unity Hub will be used for it’s directory tools and services in activating the licenses.
a. Finding licenses through Unity Hub
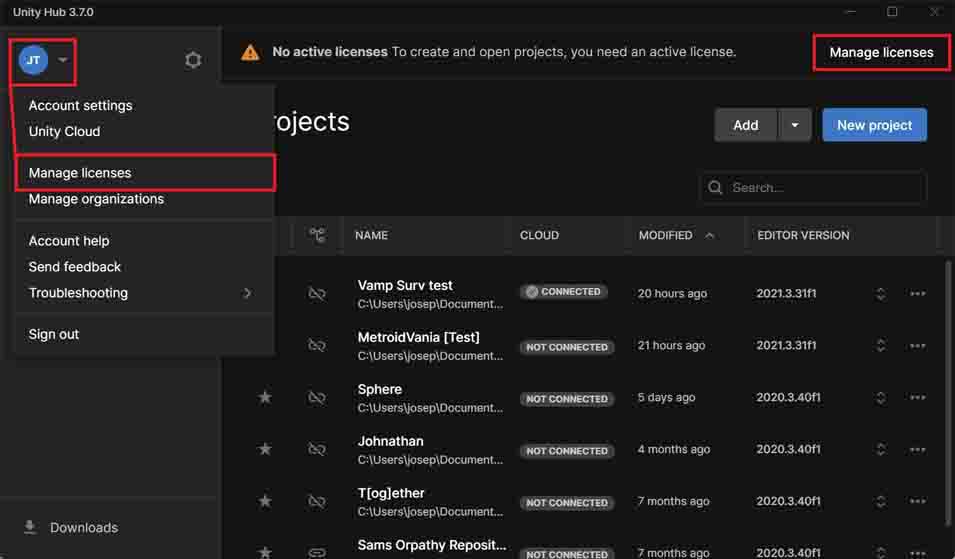
To access your licenses in Unity Hub, click on Manage licenses.
b. Finding Serial Keys & licenses through Unity.com
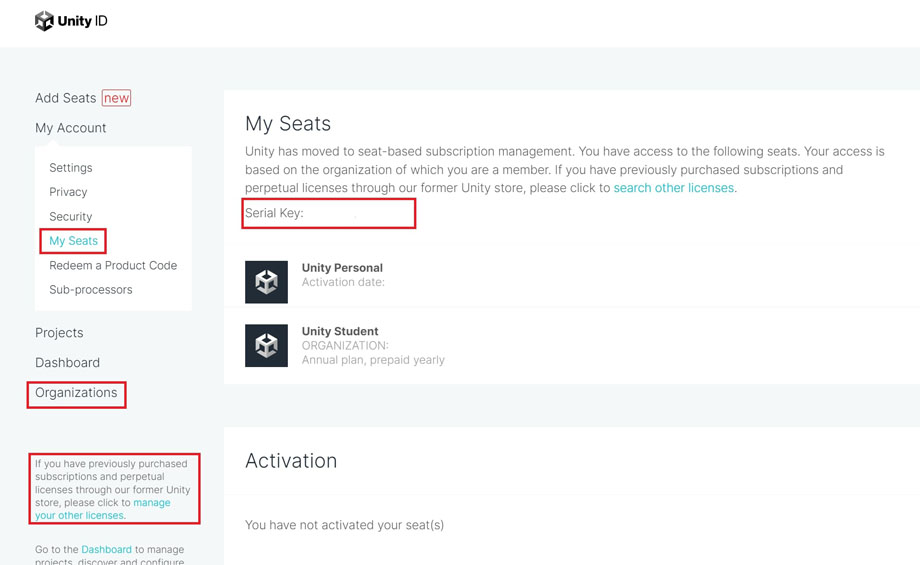
Head to unity.com and sign in. After signing in, go to My Account.
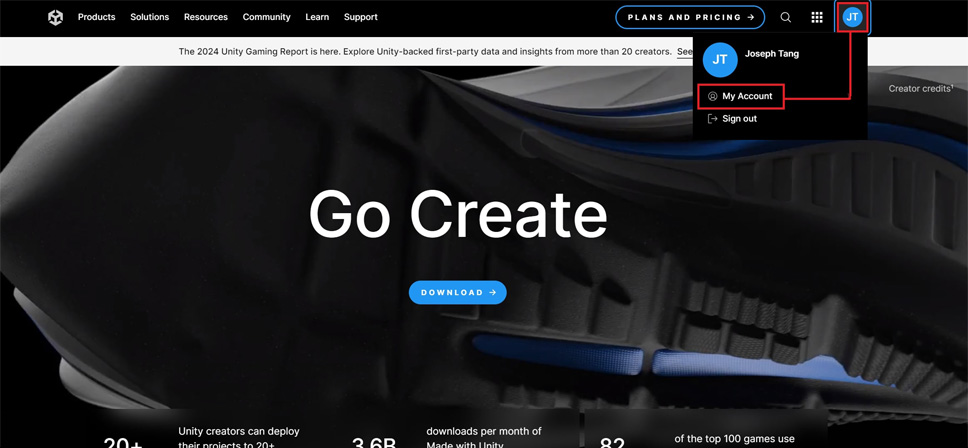
In your account you can check My Seats or Organizations to see any groups that you have been included in. On the left side of your profile, there will be hyperlink to direct you to Manage licenses. Both My Seats and in Manage licenses will be able to show you any Serial Keys that you have.
2. Getting a new license
On your Unity Hub’s licenses page, click on Add or Add license to see your main license acquisition options.
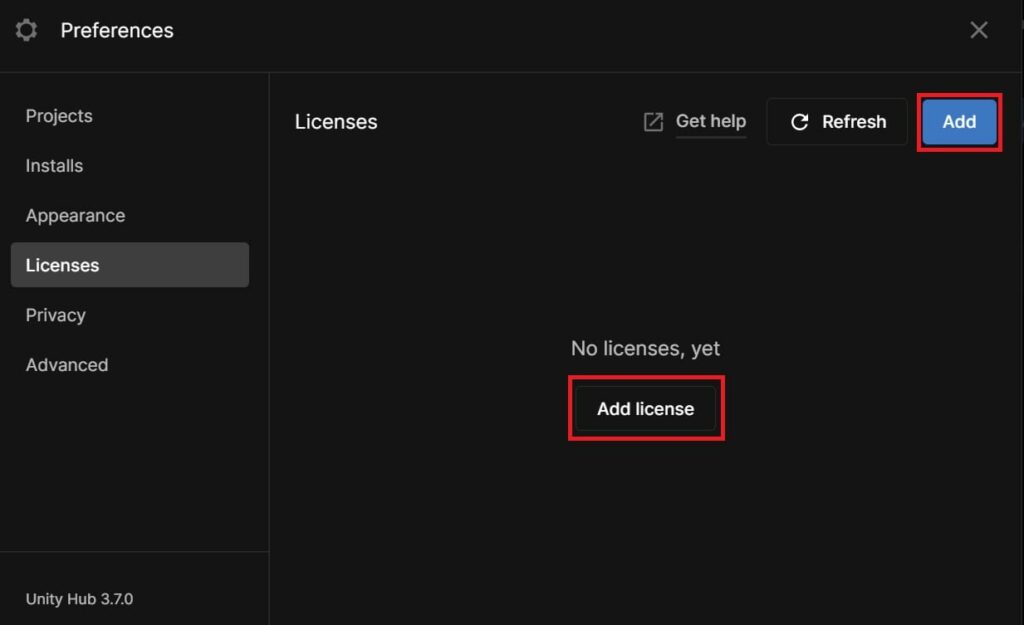
When you click on Add license, you will see a list of license options.
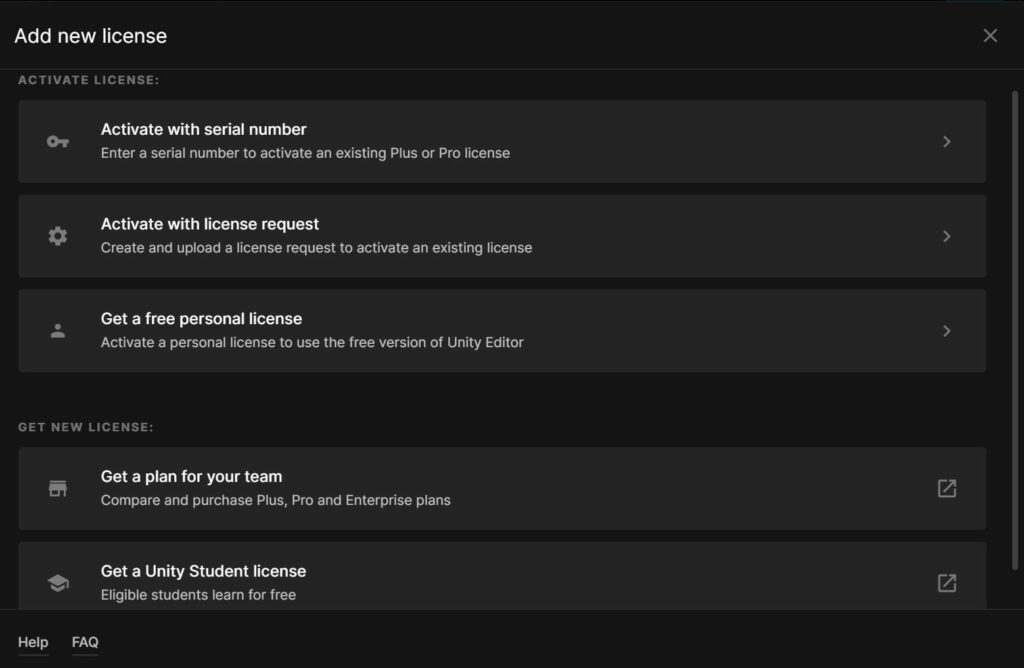
Skip to 3c. Get a free personal license, if you would like to get a personal license for free and are not a student.
a. Get a plan for your team
This option is for professional use and can be adjusted to Choosing this option will redirect you to Unity’s Pro Plan payment options.
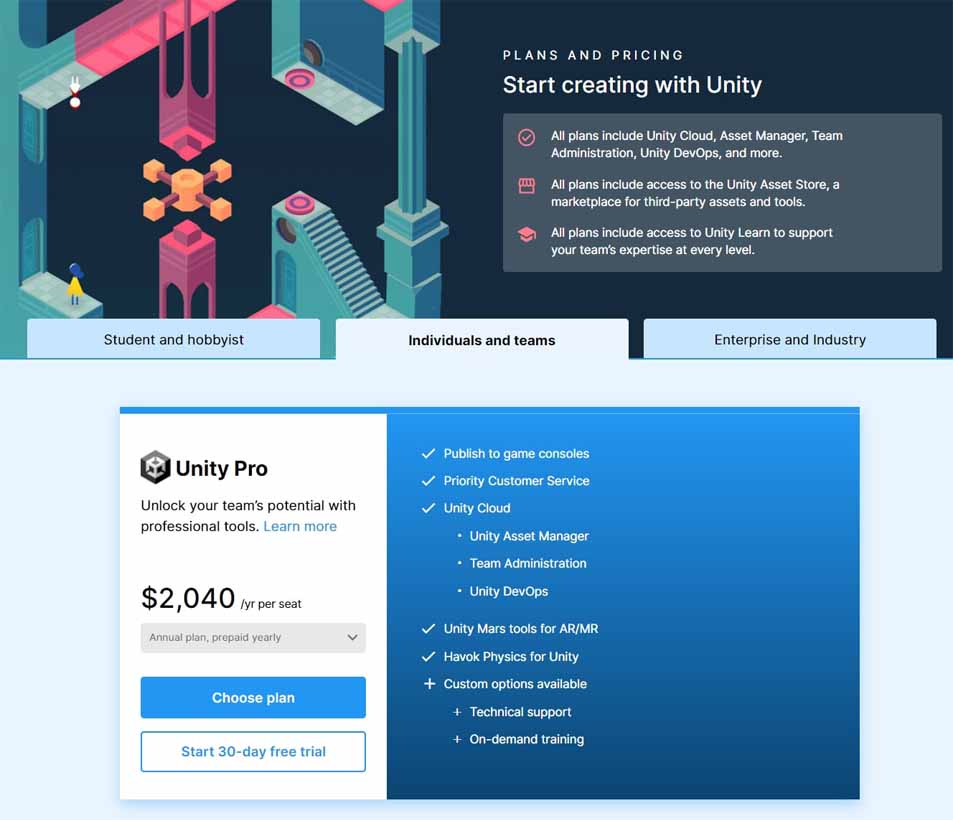
Unity Pro is a plan that can be bought for an Organization, where you can assign Seats to other group members depending on how many seats you have paid for, or a plan that you can buy solo for the listed benefits.
b. Get a Unity Student license
Selecting this option will send you to the Student’s license page.
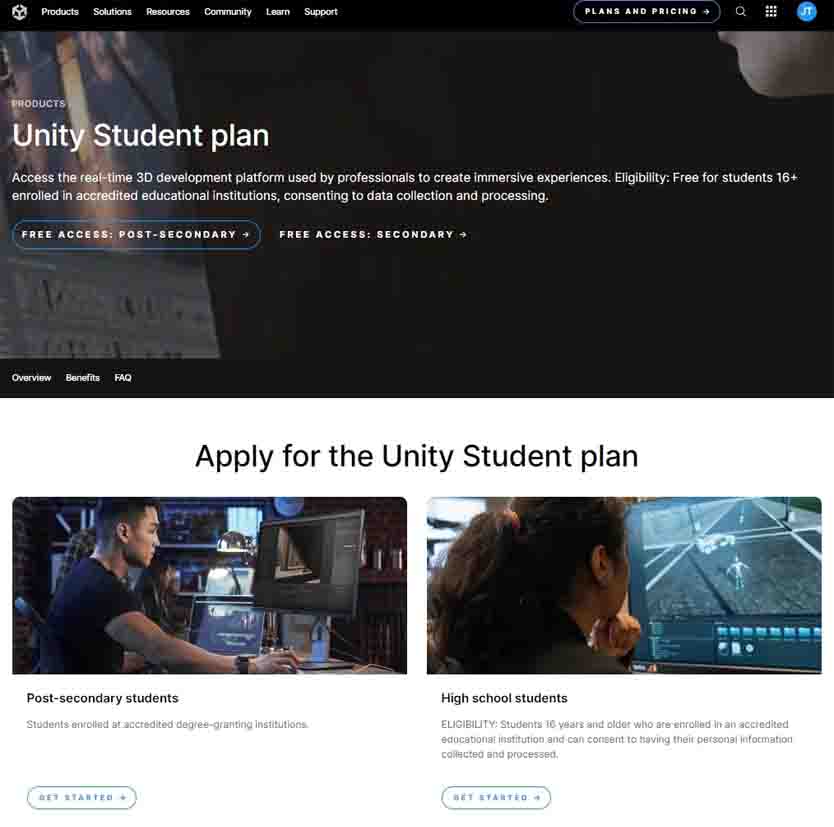
Select your applicable Unity Student Plan and fill out your particulars and relevant school information. After applying, you should receive an email and Student Plan if your request is accepted.
3. Adding a license
If you plan on:
- using Unity with the Personal plan, choose Get a free personal license.
- using Unity with other Editor plans, choose Activate with serial number.
Activate with license request is a method for activating a owned Unity Plan license on an computer with no internet connection.
a. Activate with serial number
If you have a Unity Plan or have a Seat in an Organization with a paid Plan included, you should have your license automatically activated. However if it is not, use this option of acquiring your license through the Serial Key number you would receive from your plan. To find the Serial Key number, refer to 1b. Finding Serial Keys & licenses through Unity.com.
Copy your Serial Key number provided and paste it into your Unity Hub.
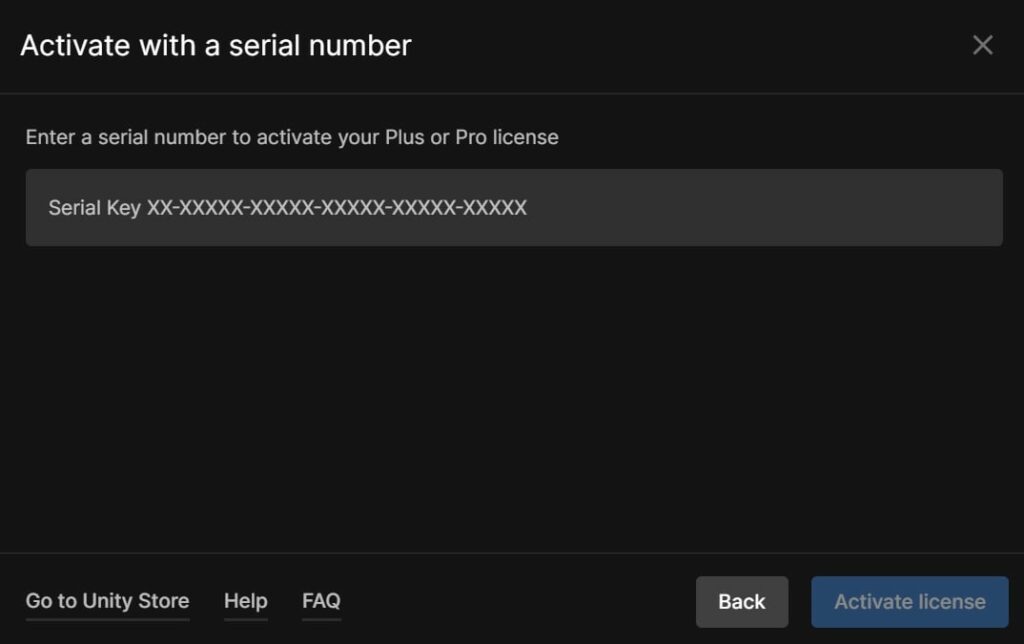
After entering the Serial Key and clicking Activate license, you should have your license ready and can access your Unity Editors.
b. Activate with license request
Note that you will need two computers, a Unity plan (Not Personal) and only for computers that do not have internet connection, to use this method. A Personal Plan can be taken as an alternative, even without internet connection.
On your offline computer, select this option and follow Step 1. Create license request.
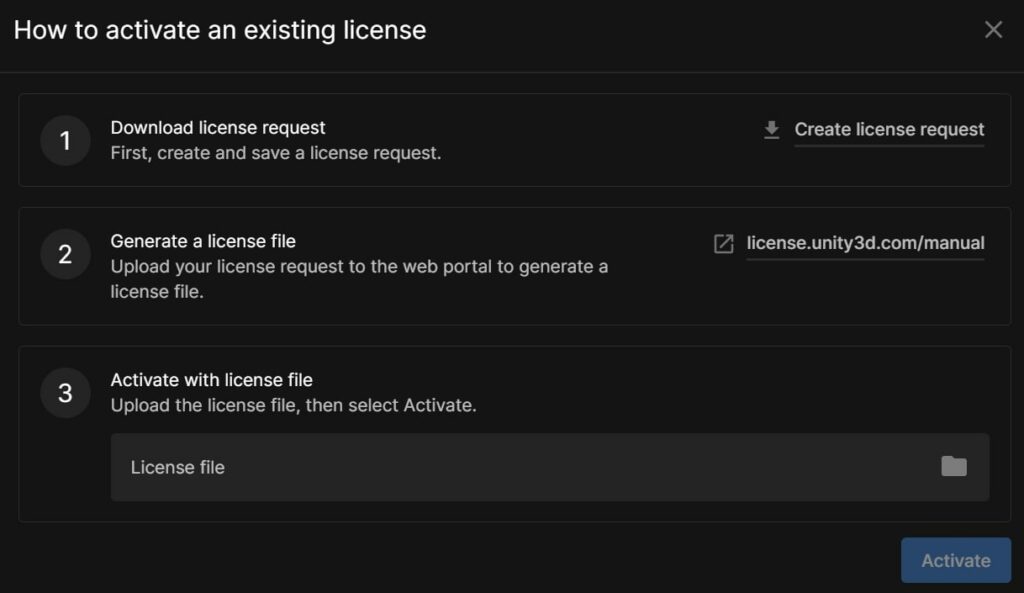
A Unity_lic.alf file will be downloaded onto your computer. Using a thumb drive, Bluetooth or any file transferring method that can be used without internet connection, transfer this file to another device with internet connection.
After transferring the file, go to Step 2 and visit https://license.unity3d.com/manual to upload the Unity_lic.alf file. Then enter your Serial Key number, refer to 1b. Finding Serial Keys & licenses through Unity.com.
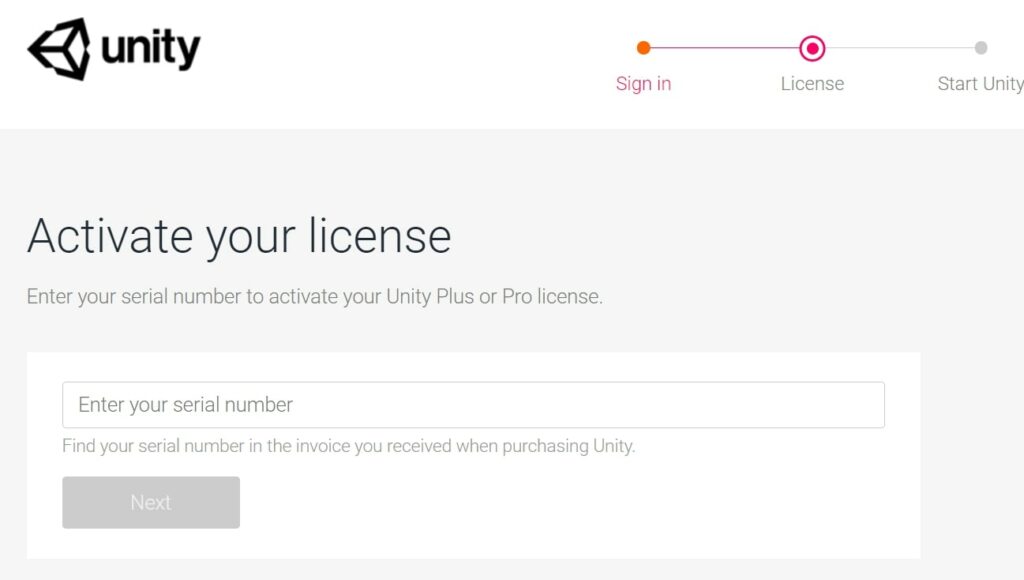
Finally, download the new file given, a Unity.ulf file.
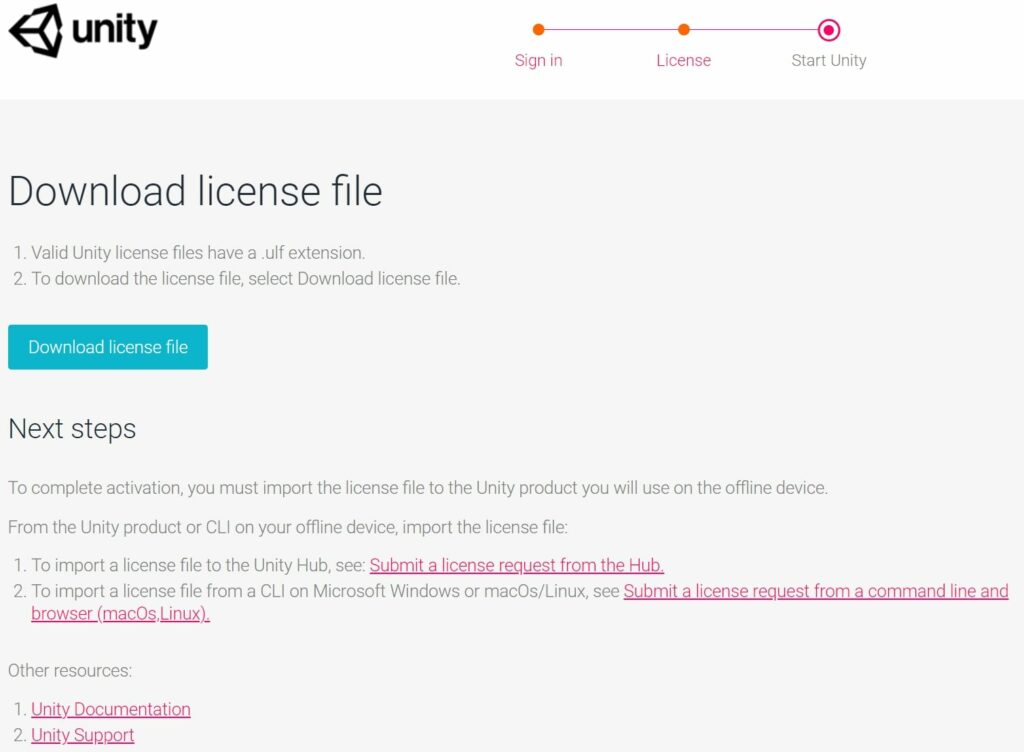
Then transfer the .ulf file to your offline computer through any transfer method again. Upload the file through the Unity Hub and Activate the license.

After clicking Activate, the license with the given Serial Key number will be added to your Unity Hub and you can open your Unity Editor.
c. Get a free personal license
Choosing this option will prompt a confirmation screen. Select Agree and get personal edition license to receive your Personal license.
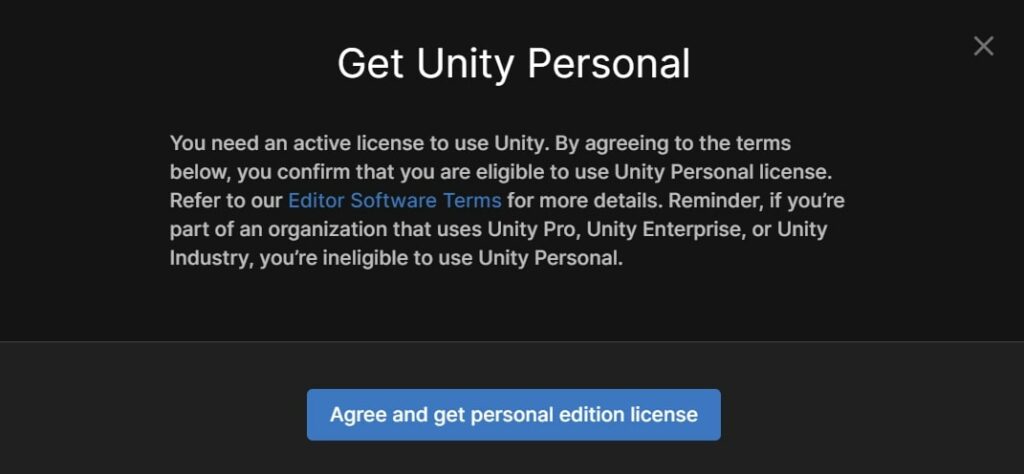
This license will be automatically added to your Unity Hub and you will be able to access your Unity Editor.
4. Conclusion
And that’s how you manage, get and activate your Unity license. Did this guide solve your issue? If you think we missed something or you need further assistance, tell us in the comments below.
