
If you are an aspiring game developer, or someone with a lot of experience making games, you may need to, at some point, test out your games on your mobile device. However, you may find that the process of having to build and install your game onto your mobile device a time-consuming and tedious process. Especially if you encounter any bugs or UI glitches and now have to go back into Unity, make the changes and repeat the installation process all over again.
With Unity Remote 5 however, this process can be entirely avoided as, not only can you directly test them through the editor, you can even make changes on the fly just by stopping the play and making your changes, before pressing play again to check and see the effects of the new changes.
The following article will guide you through the step-by-step process of setting Unity Remote up, on both your iOS mobile device and your computer or laptop.
If you are using an Android device instead of an iOS one, please refer to this article instead to get Unity Remote working.
1. Preparing your mobile device
Before you begin to use Unity Remote, you will need to set up your iOS mobile device.
a. Installing Unity Remote 5 from the App Store
- Open the App Store and search for Unity Remote 5. Alternatively, you can use our link to go to the Unity Remote 5 App Store page directly on your mobile device.
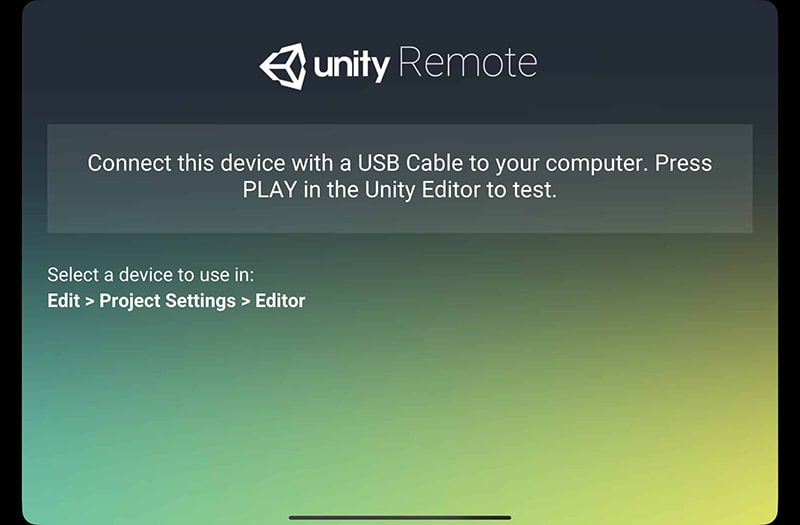
- Once installed, you can start up the app and connect your iOS device to your computer. This is how the app will look like at rest.
b. Enabling Developer Mode
For your iOS device to be able to connect to Unity Remote, you will also need to enable Developer Mode on it. If you don’t know how to do that, you can check out the article below.
2. Preparing your computer
For Unity Remote to successfully connect to your computer, you will also need to properly prepare it.
a. Installing iOS Build Support
iOS Build Support is a Unity Editor extension that adds a suite of features for designing games on Android devices. To use Unity Remote 5, you will need to add it to the version of the Unity Editor that you are creating and testing your game on.
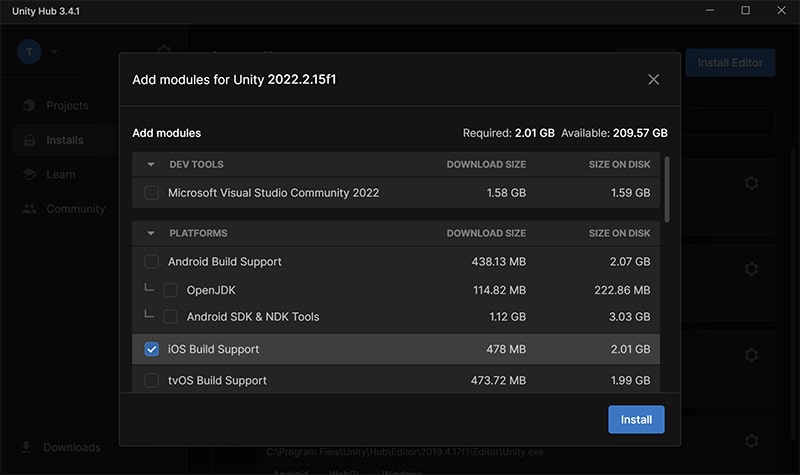
To begin, open Unity Hub and head to the Installs tab. Click on the dropdown of the Unity version you want to install Android Build Support for, then select Add Modules.
Check the iOS Build Support checkbox in the window that pops up. After that, click on Next and follow the instructions to install the module onto your Unity Editor.
b. Configuring your Unity Editor to use Unity Remote
After you install iOS Build Support, you need to configure your Unity Editor to use Unity Remote when you activate Play-in-Editor.
- Open any Unity project you have. Make sure that you are using an Editor Version that has iOS Build Support installed, as the module is not universally installed on all versions of your Editor.
- Navigate to File > Project Settings.
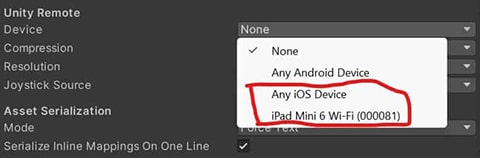
- Click on the Editor tab in the Project Settings window, or search for “Unity Remote” in the search bar (pictured below).
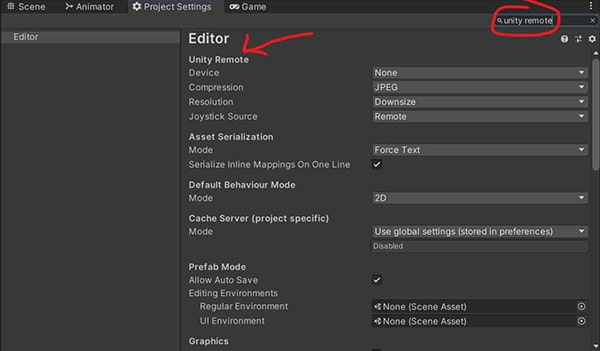
- Find the Device setting and set it to either the specific device shown, or to Any iOS device. If the device does not show
- If you can’t find either, try opening and closing:
- The Unity project
- Unity Remote 5
- or, with both still open, disconnecting and reconnecting your connecting cable
- With the above settings configured, when you press play on the Editor, you should see your game appear on both the computer / laptop screen and on your iOS device.
3. Troubleshooting
Have you done all the above, but are still unable to get Unity Remote working on your iOS device?
a. Refreshing your connections
The simplest thing you can do is to restart your applications. Close and reopen:
- the Unity project on your computer, and / or;
- the Unity Remote 5 app on your iOS device
You can also try to close both the Unity project and the Unity Remote 5 app, and then disconnecting and reconnecting your connecting cable, before restarting all the applications again.
Disconnecting and reconnecting the connecting cable regardless of whether you have restarted both of the applications or not is often what works.
b. Change your connecting cable
There are many kinds of connecting cables out there. If you can’t get Unity Remote to work, it is possible that your connecting cable is only a charging cable, and cannot transfer data. You need a cable that is able to transfer data to be able to use Unity Remote.
4. Conclusion
If there has been anything I left out, or anything else you would like to ask, feel free to leave it in the comments below and I will try to reply to them. Thank you so much for reading.