If you’re developing a tower defense game, one of the first questions you are going to be dealing with is this: how do you make the projectiles that your towers fire hit their targets? After all, these fired projectiles take time to reach their targets – targets that are constantly moving. Sometimes, by the time a projectile gets to where it was aiming at, their targets would’ve sometimes moved out of the way.
If your projectiles don’t account for that in your tower defense game, it can be a problem, since it limits the number of ways you can layout your levels. Such a thing can also be pretty annoying for your players, but I digress.
How other games solve the problem
Many tower defense games make their projectiles home in onto their targets.

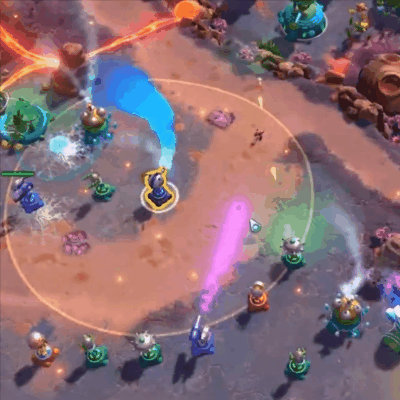
This introduces a slightly noticeable arc to your missiles, but it is a worthwhile trade off, considering that the alternative gives us bullets that straight up miss their targets! Moreover, the slight arc is going to be harder to notice once the screen sees more action (did it take you some time to see where the arcs were for some of the above GIFs?).
Creating a projectile script
Let’s create a generic class that can be used for all projectiles in our game. If we want to create additional capabilities for specific projectiles in our game in future, we can always sub-class from this generic projectile class in future.
These are the things that we want our projectile class to be capable of doing:
- Adjustable attributes. We should be able to attach this script to any GameObject or Prefab we want and turn it into a functioning projectile.
- Have it work without a Rigidbody component (i.e. it doesn’t use the Unity Physics engine). The projectile doesn’t need to use Physics to move and detect collisions anyway, so this is a nifty optimisation.
- Does not miss the target. It is a homing projectile after all.
Hence, let’s start with the following template (read the comments in the code):
Projectile.cs
using System.Collections;
using System.Collections.Generic;
using UnityEngine;

public class Projectile : MonoBehaviour {
    public float speed = 8.5f; // Speed of projectile.
    public float radius = 1f; // Collision radius.
    float radiusSq; // Radius squared; optimisation.
    Transform target; // Who we are homing at.

    void OnEnable() {
        // Pre-compute the value.
        radiusSq = radius * radius;
    }

    void Update() {
        // Move ourselves towards the target at every frame.

        // Destroy the projectile if it has already hit the target.
    }

    // So that other scripts can use Projectile.Spawn to spawn a projectile.
    public static Projectile Spawn(GameObject prefab, Vector3 position, Quaternion rotation, Transform target) {
        // Spawn a GameObject based on a prefab, and returns its Projectile component.
    }
}
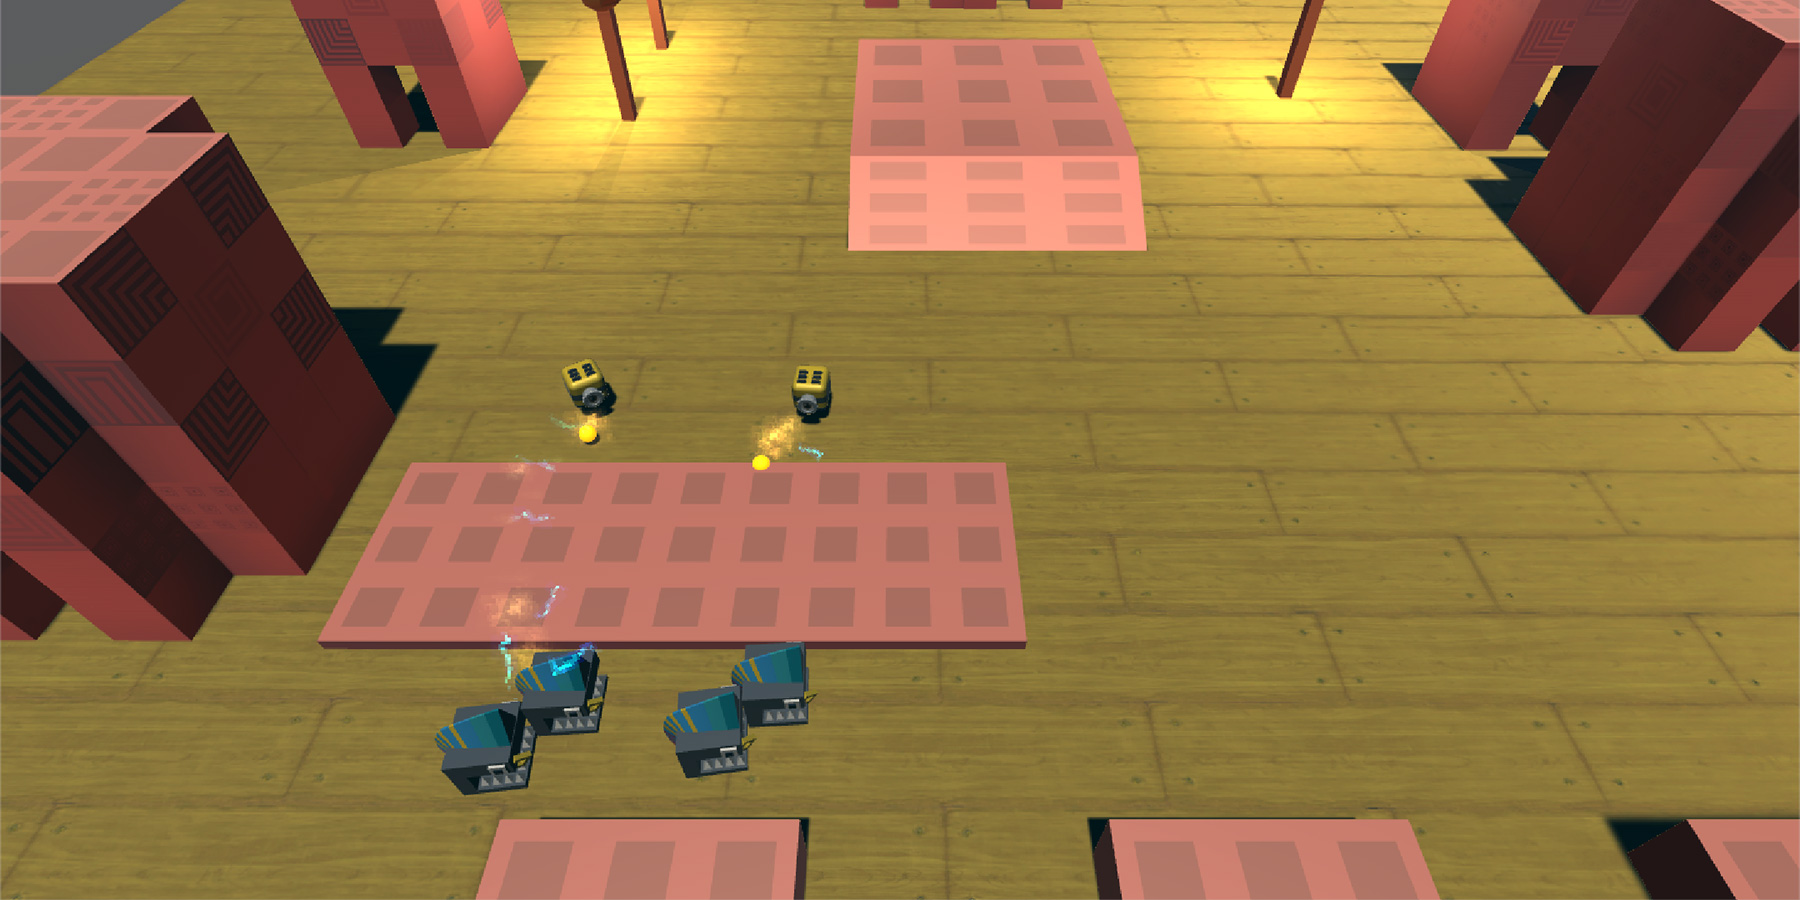
Projectile movement
We are going to handle projectile movement in Update(). To keep things simple, we want to move the projectile at speed units per second towards the target at every frame.
Then, if it gets too close to the target, we want to destroy the projectile, spawn some special effects (if relevant) and damage the target.
void Update() {
    // Move ourselves towards the target at every frame.
    Vector3 direction = target.position - transform.position;
    transform.position += direction.normalized * speed * Time.deltaTime;

    // Destroy the projectile if it is close to the target.
    if ( direction.sqrMagnitude < radiusSq ) {
        Destroy(gameObject);
        // Write your own code to spawn an explosion / splat effect.
        // Write your own code to deal damage to the <target>.
    }
}
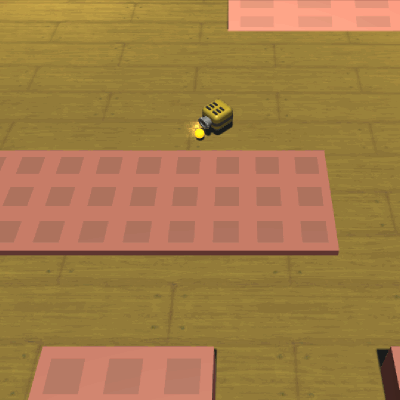
This gives us movement as shown on the GIF below:

Handling the edge cases
Now, what happens if a bomb goes off and removes the target from our game before the projectile reaches it? If the target disappears like that, we will get the dreaded NullReferenceException, because target.position makes no sense when target == null. So, we need to make sure that when the code gets to target.position, it is impossible for target to be null.
void Update() {
    // If there is no target, destroy itself and end execution.
    if ( !target ) {
        Destroy(gameObject);
        // Write your own code to spawn an explosion / splat effect.
        return; // Stops executing this function.
    }

    // Move ourselves towards the target at every frame.
    Vector3 direction = target.position - transform.position;
    transform.position += direction.normalized * speed * Time.deltaTime;

    // Destroy the projectile if it is close to the target.
    if ( direction.sqrMagnitude < radiusSq ) {
        Destroy(gameObject);
        // Write your own code to spawn an explosion / splat effect.
        // Write your own code to deal damage to the <target>.
    }
}
Finishing up: Projectile.Spawn()
Let’s fill up the static function Projectile.Spawn() so that other scripts can use it to spawn projectiles. You might be wondering: why not just use Instantiate()? That’s because you will need to write at least 3 lines of code for every projectile that you spawn:
GameObject go = Instantiate(prefab, transform.position, transform.rotation);
Projectile proj = go.GetComponent<Projectile>();
proj.target = myProjectileTarget;
We put all of this work into Projectile.Spawn() so that you can create everything in a single line.
public static Projectile Spawn(GameObject prefab, Vector3 position, Quaternion rotation, Transform target) {
    // Spawn a GameObject based on a prefab, and returns its Projectile component.
    GameObject go = Instantiate(prefab, position, rotation);
    Projectile p = go.GetComponent<Projectile>();

    // Rightfully, we should throw an error here instead of fixing the error for the user.
    if(!p) p = go.AddComponent<Projectile>();

    // Set the projectile's target, so that it can work.
    p.target = target;
    return p;
}
Our final product
This is what our final Projectile class ends up looking like:
Projectile.cs
using System.Collections;
using System.Collections.Generic;
using UnityEngine;

public class Projectile : MonoBehaviour {
    public float speed = 8.5f; // Speed of projectile.
    public float radius = 1f; // Collision radius.
    float radiusSq; // Radius squared; optimisation.
    Transform target; // Who we are homing at.

    void OnEnable() {
        // Pre-compute the value.
        radiusSq = radius * radius;
    }

    void Update() {
        // If there is no target, destroy itself and end execution.
        if ( !target ) {
            Destroy(gameObject);
            // Write your own code to spawn an explosion / splat effect.
            return; // Stops executing this function.
        }

        // Move ourselves towards the target at every frame.
        Vector3 direction = target.position - transform.position;
        transform.position += direction.normalized * speed * Time.deltaTime;

        // Destroy the projectile if it is close to the target.
        if ( direction.sqrMagnitude < radiusSq ) {
            Destroy(gameObject);
            // Write your own code to spawn an explosion / splat effect.
            // Write your own code to deal damage to the <target>.
        }
    }

    // So that other scripts can use Projectile.Spawn to spawn a projectile.
    public static Projectile Spawn(GameObject prefab, Vector3 position, Quaternion rotation, Transform target) {
        // Spawn a GameObject based on a prefab, and returns its Projectile component.
        GameObject go = Instantiate(prefab, position, rotation);
        Projectile p = go.GetComponent<Projectile>();

        // Rightfully, we should throw an error here instead of fixing the error for the user.
        if(!p) p = go.AddComponent<Projectile>();

        // Set the projectile's target, so that it can work.
        p.target = target;
        return p;
    }
}
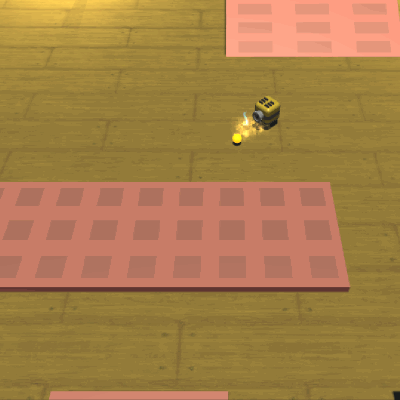
And these are the projectiles in action:
Just so you know, the script doesn’t create those iffy special effects for you. You’re going to have to make the those yourself.
Update: Part 2 of this article, which covers adding an arc to your projectile, has been released.
Hi! Very nice tutorial :)
I have a question: How can i rotate a projectile, preferably an arrow along the arc?
Thank you Master :)
Hi Greg, you can try using this:
transform.rotation = Quaternion.LookRotation(target.position - transform.position);I accidentally wrote my question here, however I’ve wanted to write it for your following blog, about adding arc to the projectile ><
Anyway, I’ve tried the method you’ve suggested before, the only problem with this is that the projectile is facing the enemy target while it is traveling towards it, not the actual path of the arc. So basically I want an arrow that rotates realistically along the path that is currently travelling. Hope that makes sense ^^
Ah yes, you are right. Another way to do this is to record the last position of the arrow at the end of every
Update()call, and then use the look rotation of the difference between the last position and the current one, like so:transform.rotation = Quaternion.LookRotation(transform.position - lastPosition);Wow, this is very useful!!!